2021-02-08-warmer climes
shoutout ariana grande
shoutout ariana grande
steady roller for ya
shoutout to valhalla supermassive, arturia pigments, ableton wavetable and operator as always
loop of two midi notes routed through midi effects into:
and a break sample in the background near the end
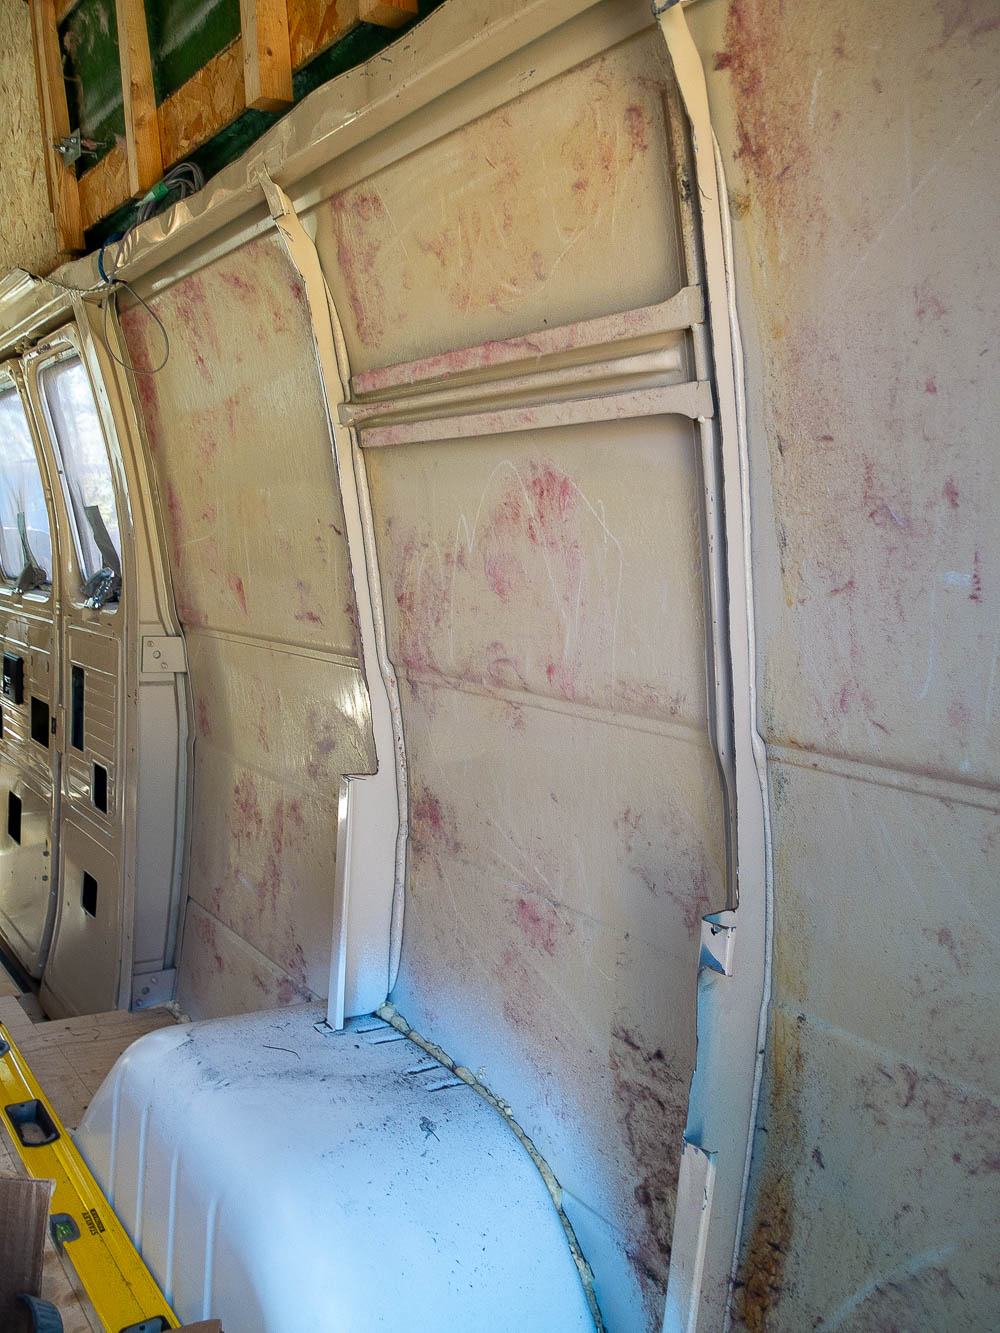
There is no such thing as a flat wall in a van build. Most vehicles have stamped panelling that tapers, curves and kinks, making it difficult to design furniture and systems to fit. Also, the thin sheet metal makes it difficult to affix wall treatment and fixtures.
I found this video of a very similar van wherein they framed out the inside of the van with plywood to solve this problem. This also provides a void for wiring and insulation to sit behind the inner wall material, like a house. I used ¾ inch plywood and PL/Liquid Nails to adhere the framing to the wall. PL is slightly elastic when cured, which will hopefully resist vibration better than something like epoxy.
The van wall before framing.
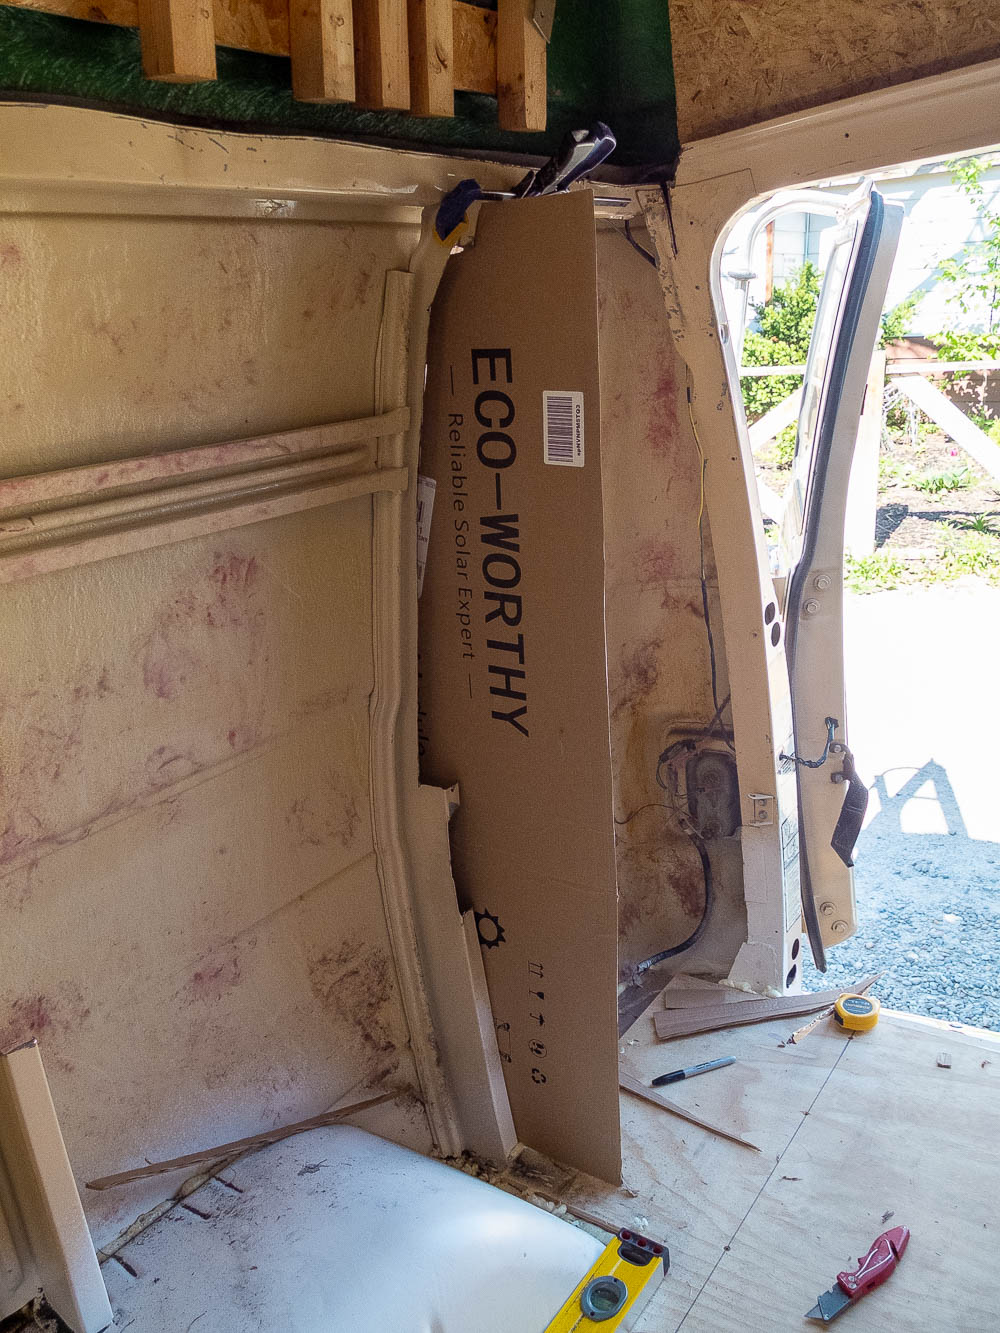
Using a piece of cardboard to make a template.
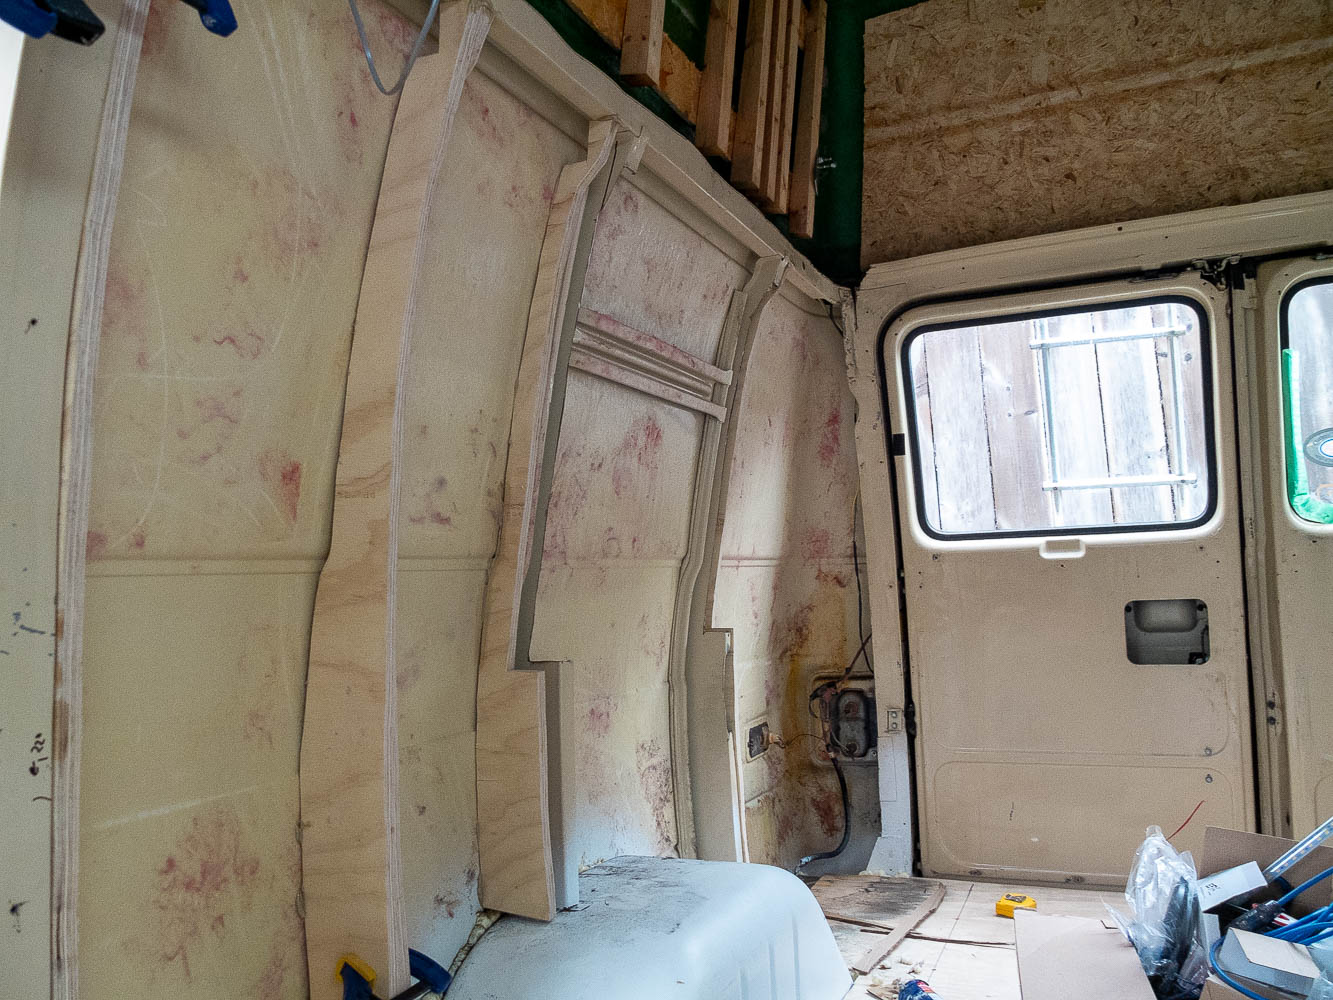
The passenger side wall with some framing. Not pretty or exact but that will be evened out by wall panelling.
Adding some cross pieces for strength lengthwise along the wall.

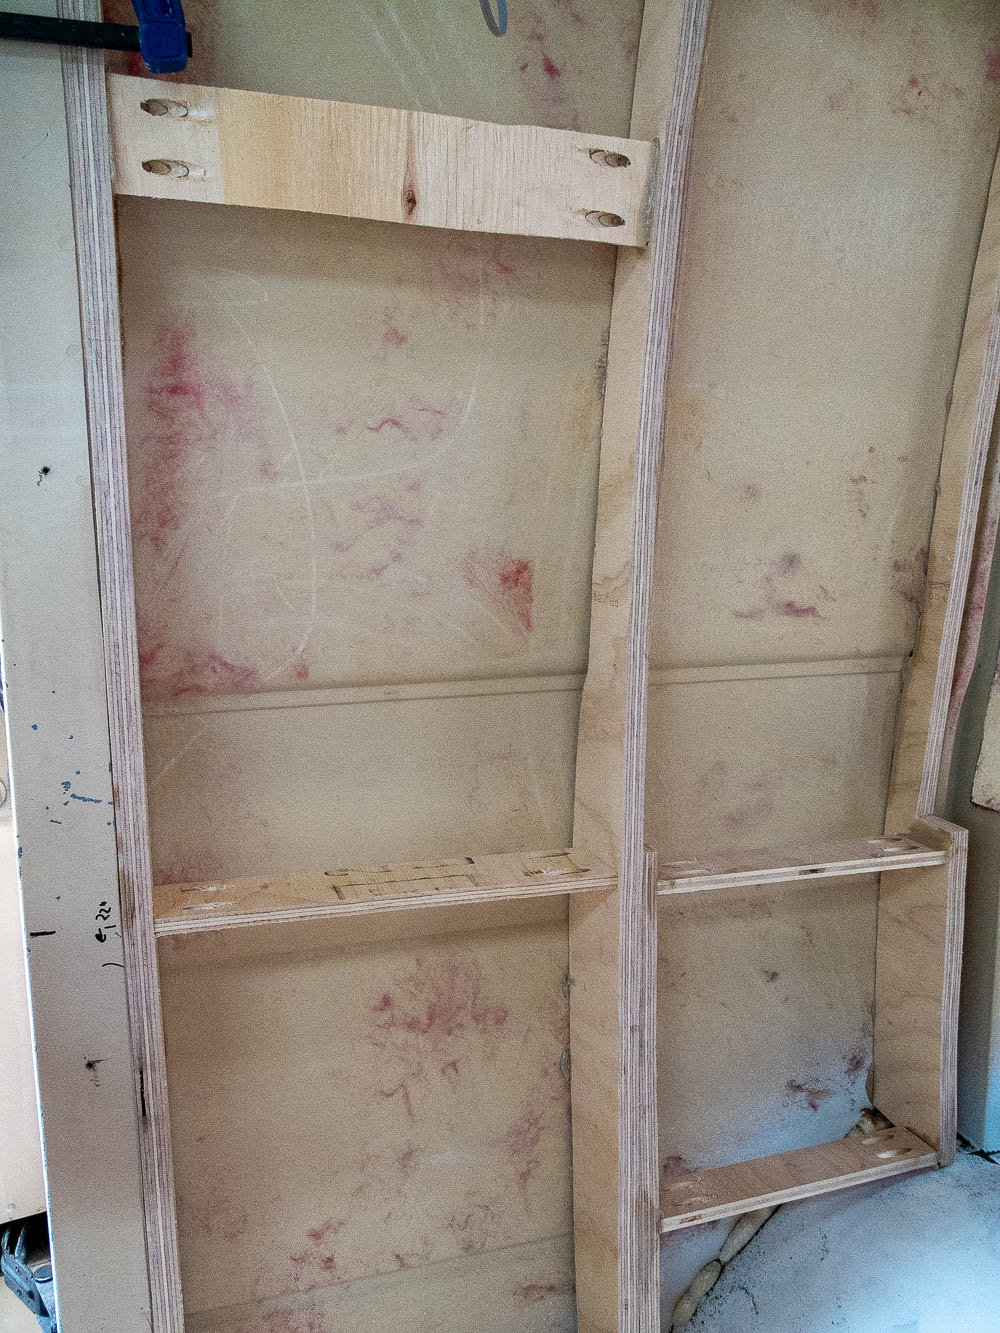
Using all the clamps for gluing framing for the window.
Insulation in van conversions is a controversial topic and I’ve seen a lot of conflicting opinions and information about it. Some say not to use fiberglass, not to use foam or bother with insulation at all. Usually builds only have an inch or two of space for insulation and the amount of windows in most vans can make that insulation ineffective. I decided that I would try to fit insulation where I could, if only to help with sound deadening. I used 1 inch Polyisocyanurate rigid board and spray foam to fill gaps. The board is easy to cut with a utility knife and is held in place with PL 300.
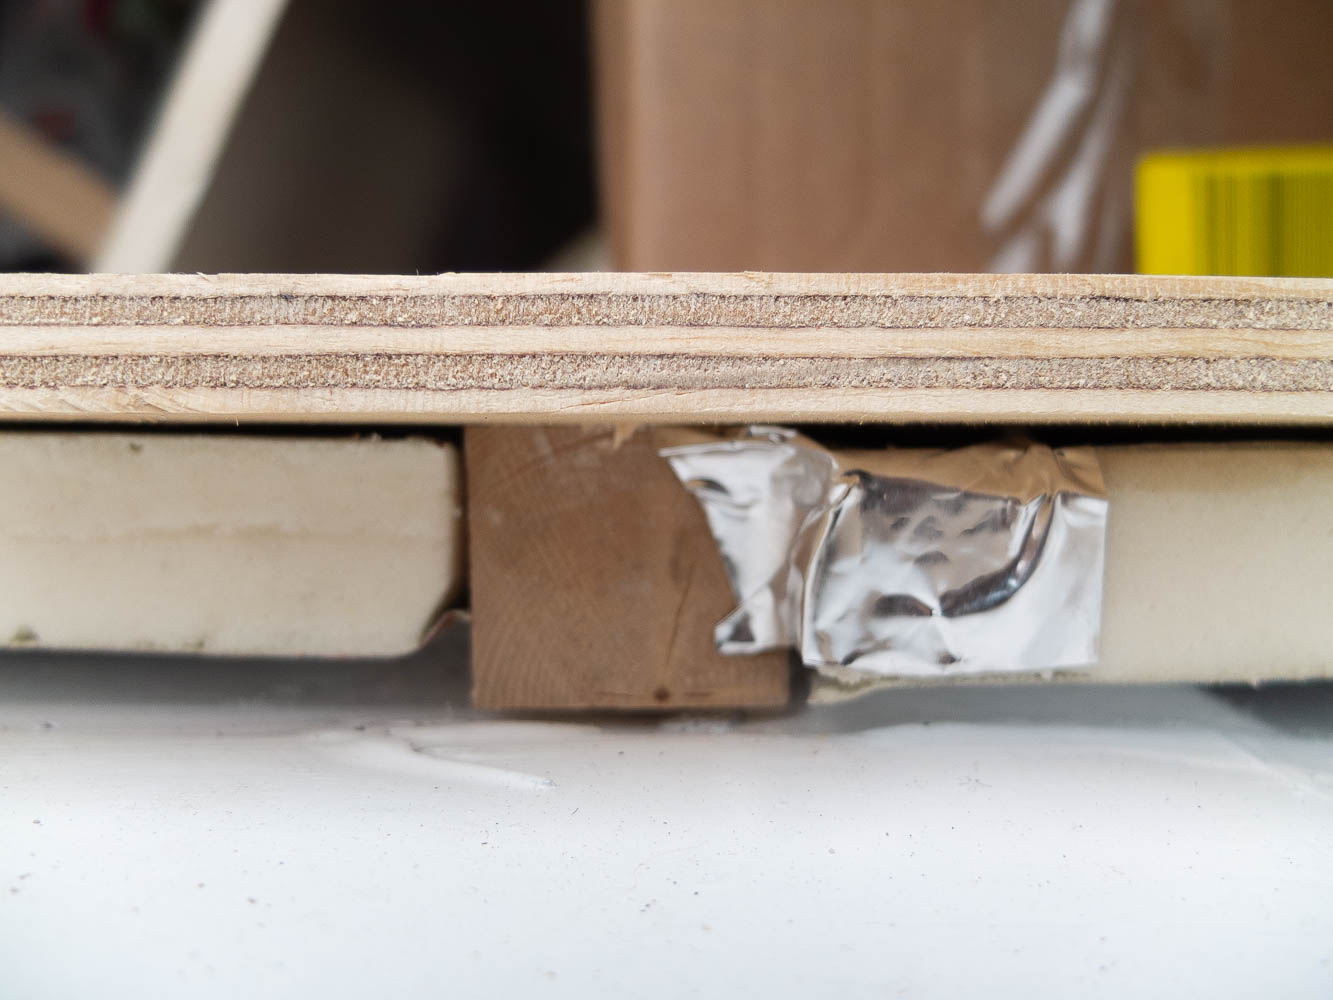
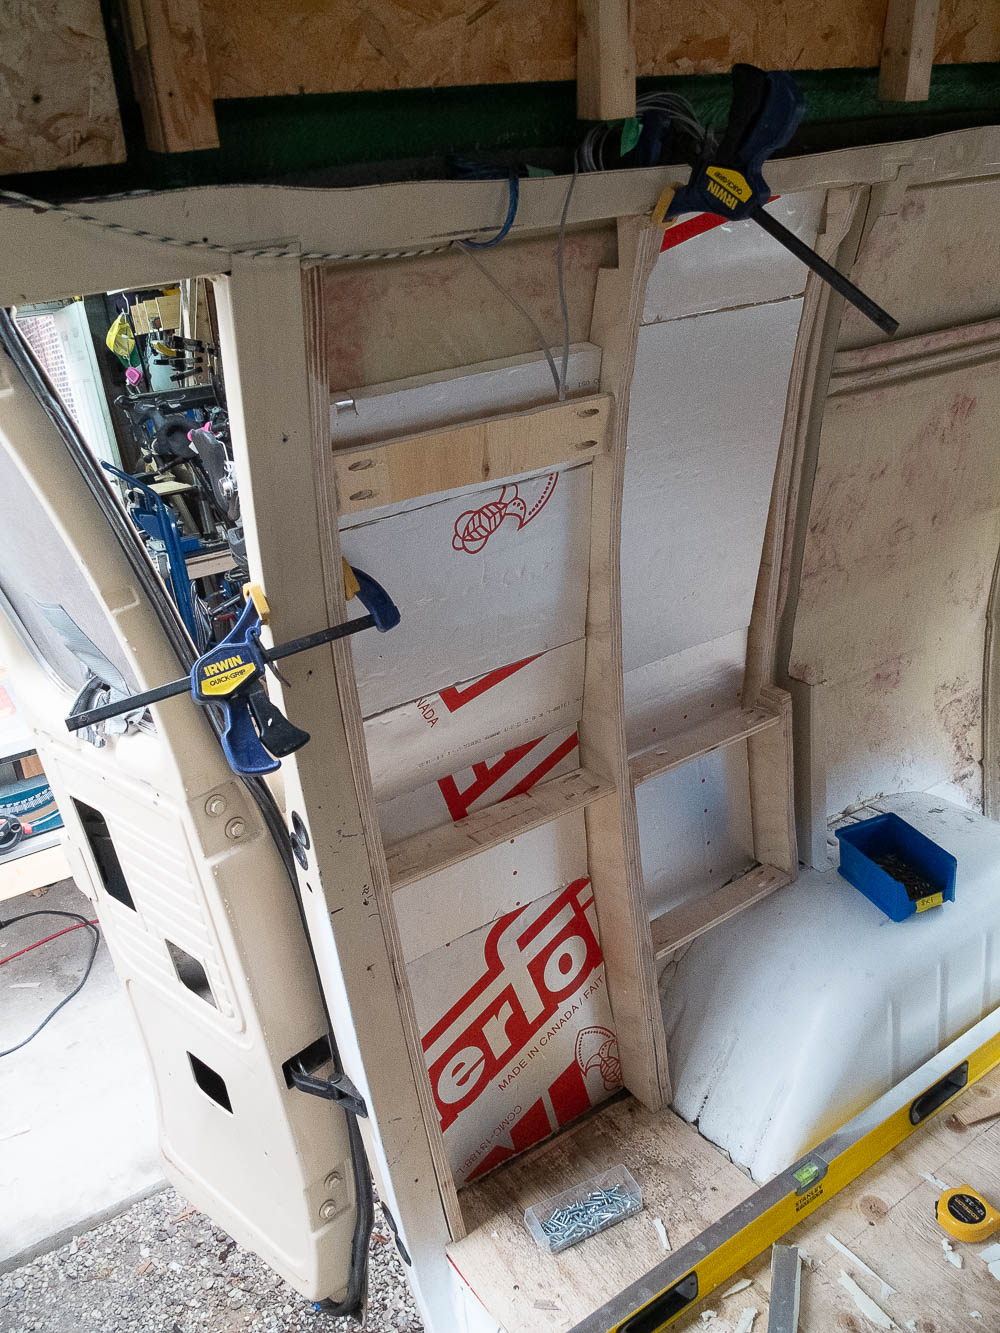
This phase was a slow and tedious process, with a lot of cutting and trips back and forth to the band saw in order to fit framing and insulation around all the vents, wheel wells and odd curves in the shell of the van, but hopefully it allows for a sturdy interior.
In the next post I’ll talk about electrical.
If you want to renovate a 35-year old RV, it’s best to let it sit behind the house for five or six months to make sure you really want to.
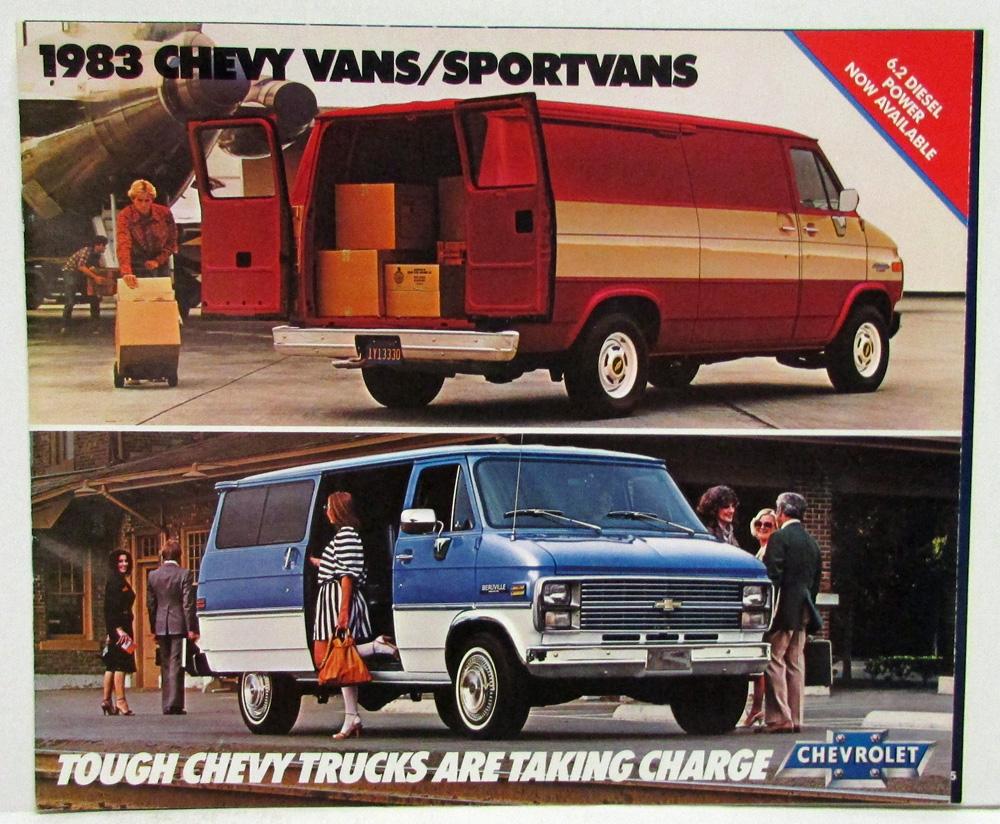
Originally we wanted to buy a late model work van, specifically a Dodge Promaster, as is the trend. It would be a blank slate of sheet metal with few windows for one to apply megawatts of solar, a bathroom and his and her’s iMacs and live out the #vanlife fantasy. Just kidding.
“Van Life” fits so easily into the wide genre of aspirational media to arrive online in the last decade. It combines our institutional dissatisfaction with our current situation with the American love of gear, and if this bro with dreads and a chestpiece can do it, so can we.
But our plan is more humble—to build a practical base for camping, canoe trips and possibly a temporary home for us when we move out for some planned renovations. We don’t plan on living in it full time. So when our vintage Chevy showed up on Kijiji we did some math. We figured it would save us a lot of money up front, probably cost a bit more in maintenance in the long run, but for the amount we’d use it, it would be worth it.
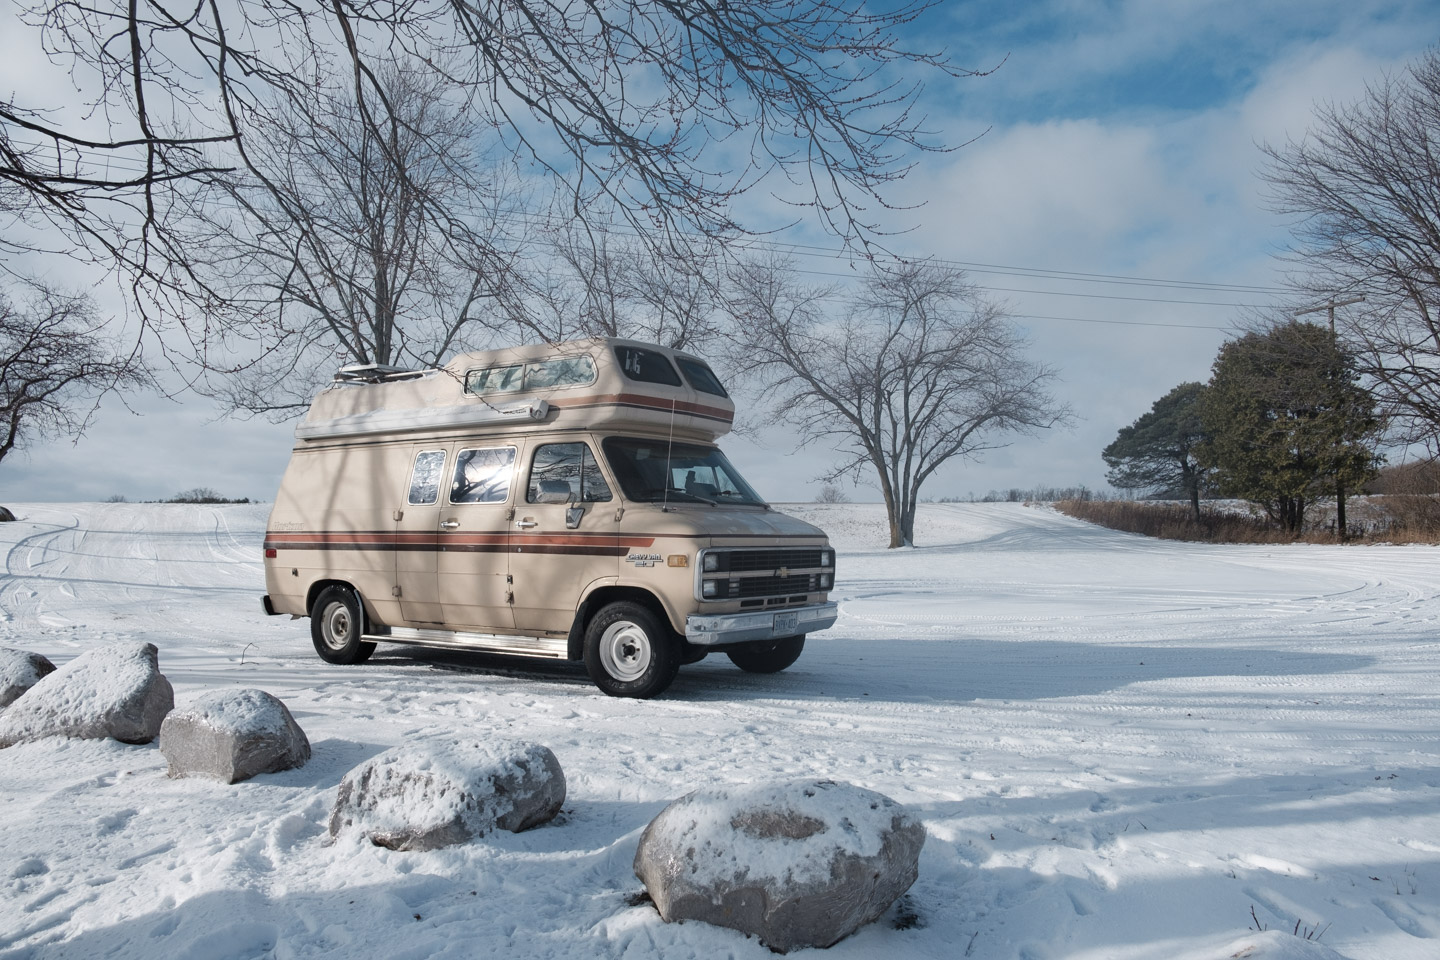
What we bought is a 1984 Chevy G20 ‘Horizon’. It started its life as a standard G20 van with a 305 V8, had its roof cut off and outfitted as an RV by Intervec, earning the Horizon badge. Ours supposedly spent much of its life stored indoors south of the border, so it has low miles and little rust underneath.
When first converted to an RV, it was equipped with the following:
Over the years systems fail and most people disconnect and remove them. When we got it, the following remained:
We will be removing everything—down to the steel—and eventually reinstalling only the fresh water tank, water pump, solar and batteries. Everything about how they’re installed and connected is going to change. I’ll talk more about these systems in later posts.


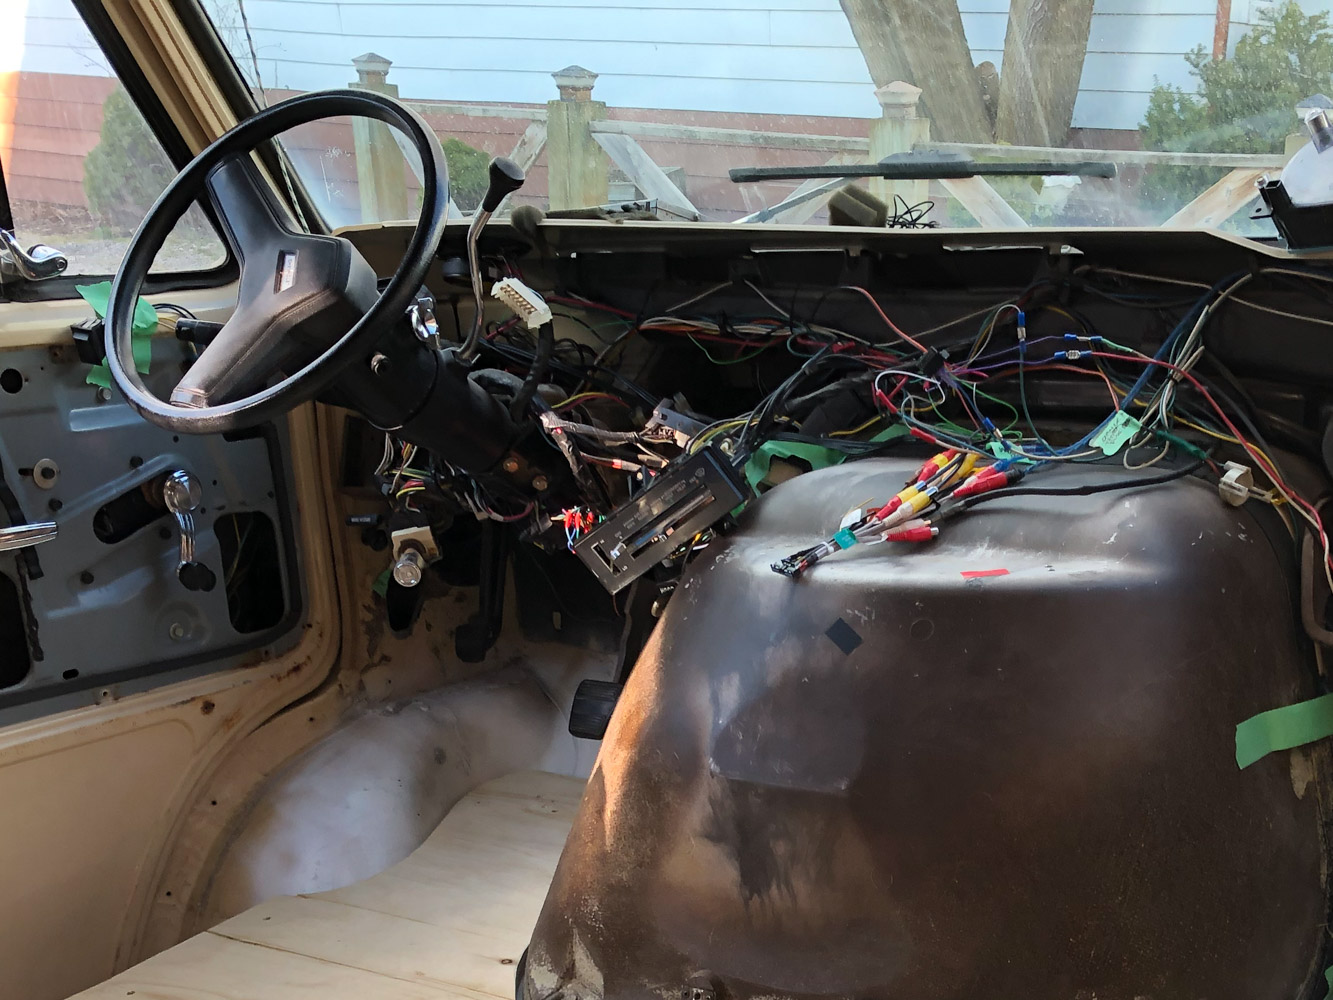
The first step is to remove most of the interior of the van. The furniture inside is cheaply made, musty, heavy and its layout isn’t ideal. There is a loft bed above the front seats on a platform that extends at night, a bench seat lengthwise behind the driver seat that converts to a bed, neither of which are ideal for two people sleeping in the van for extended periods. The rear of the van is occupied by the remains of the shower, some storage and a closet. A clean slate will allow us to insulate the walls, install conduit for wiring and build furnishings and storage exactly to our needs.
We did most of the work in a couple afternoons. The star of the show was the DeWalt DCS367B reciprocating saw, a tool I bought last year that was more of a want than a need, but made quick work of a few cutting jobs that otherwise would have required the tedious removal of stubborn screws.
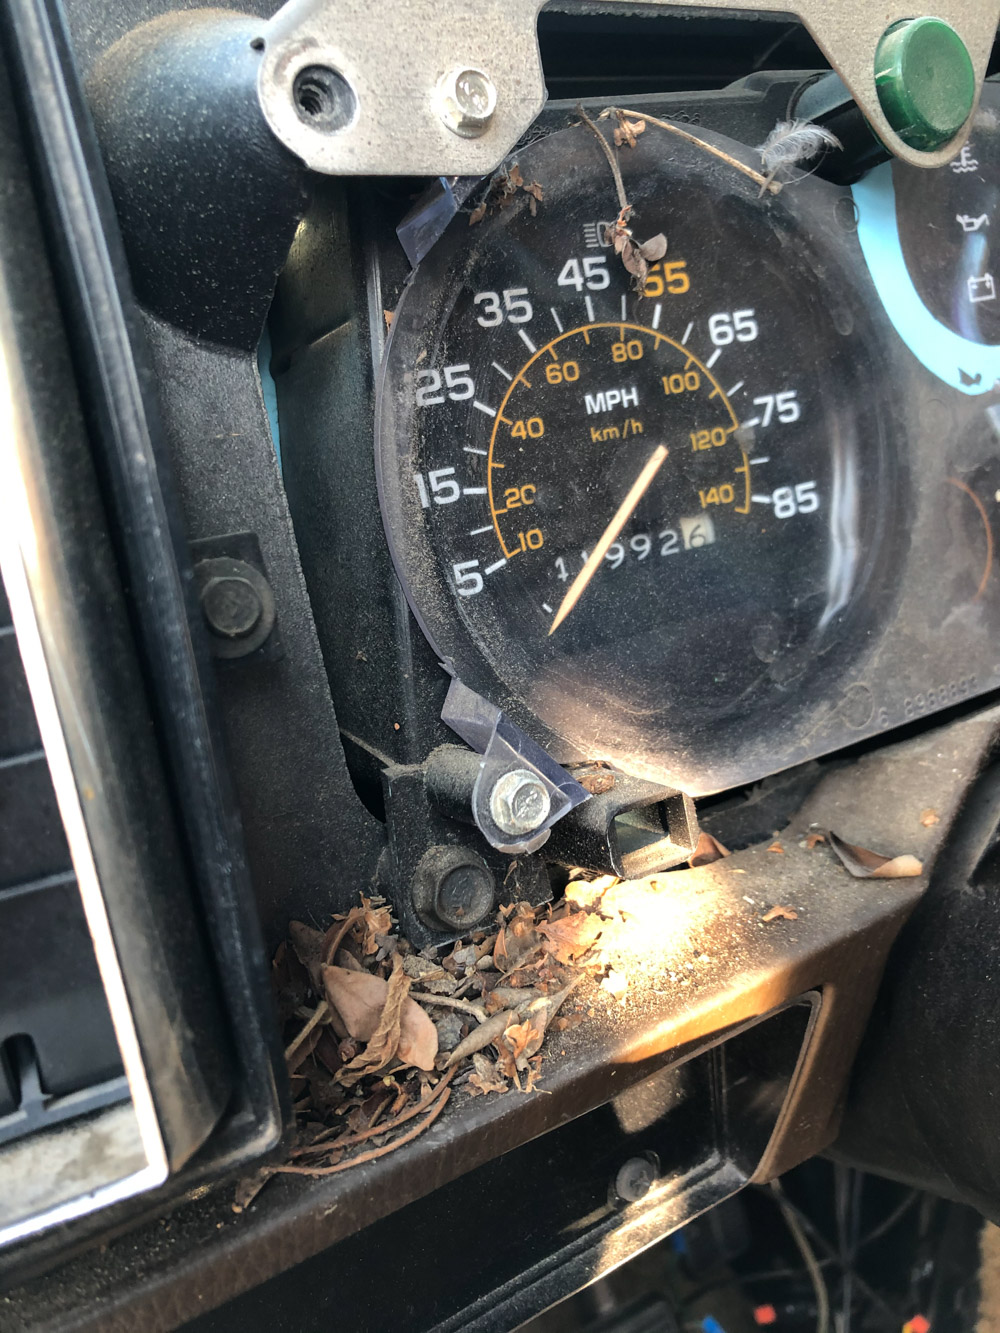
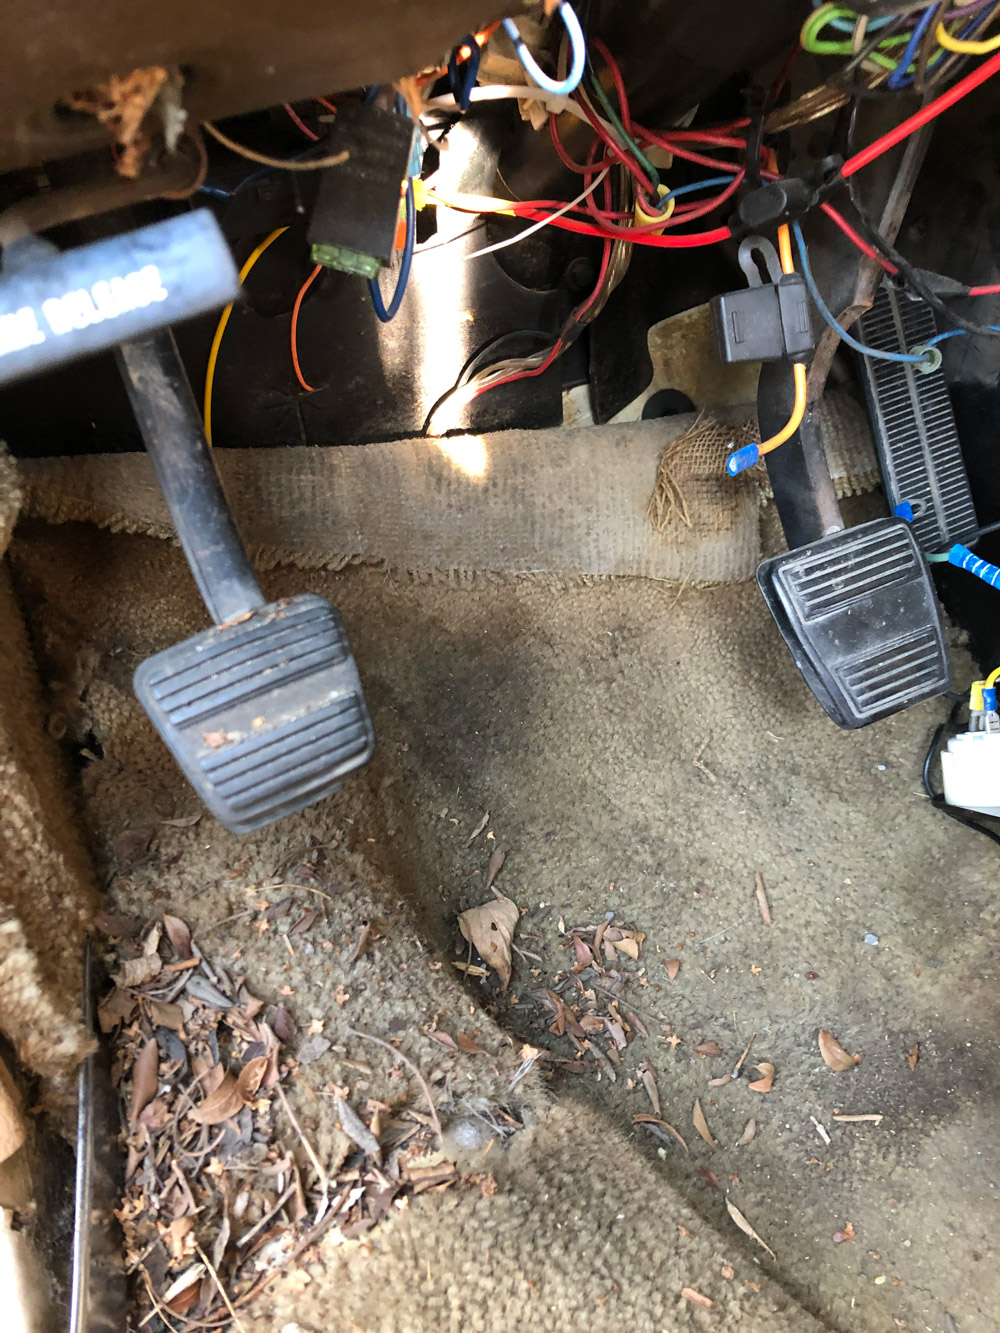
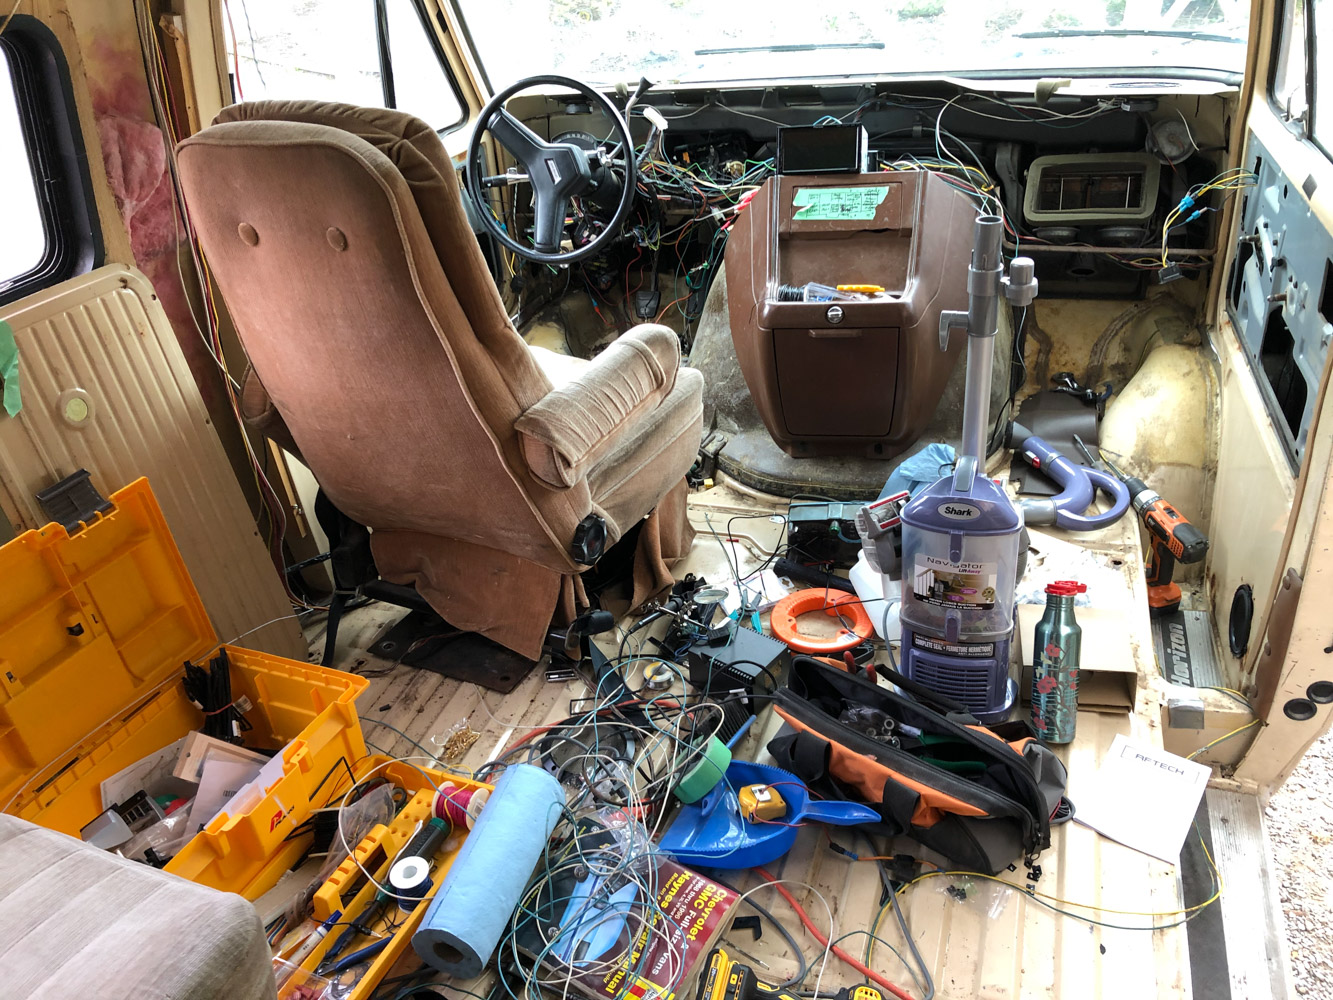
The next big job was to get the dashboard off, install a new stereo receiver, speakers and make sense of some of the wiring. There were decades of disconnected and disused circuits to clean up.
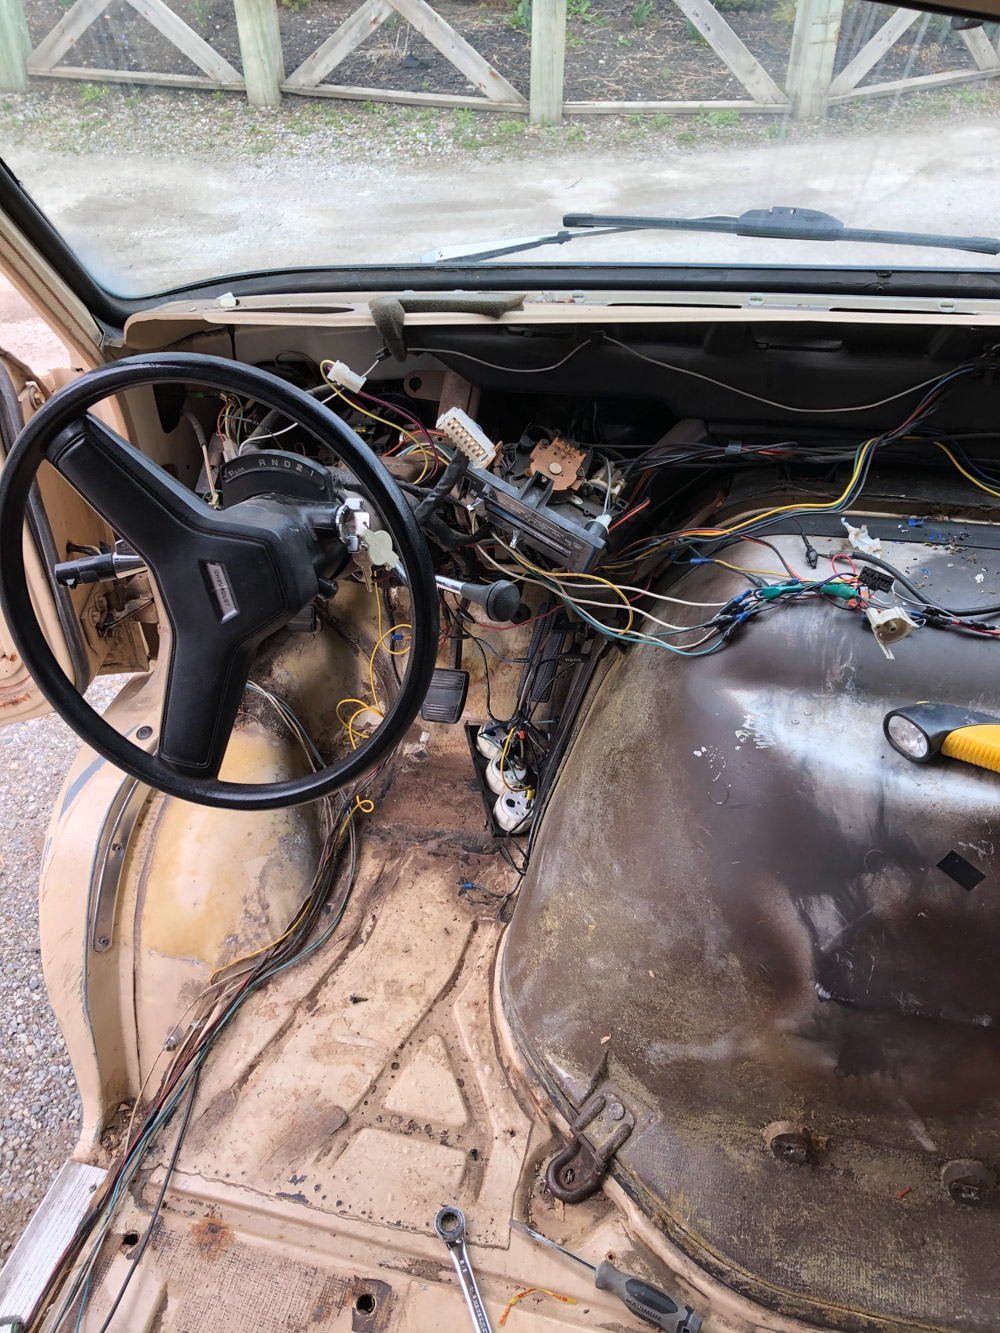
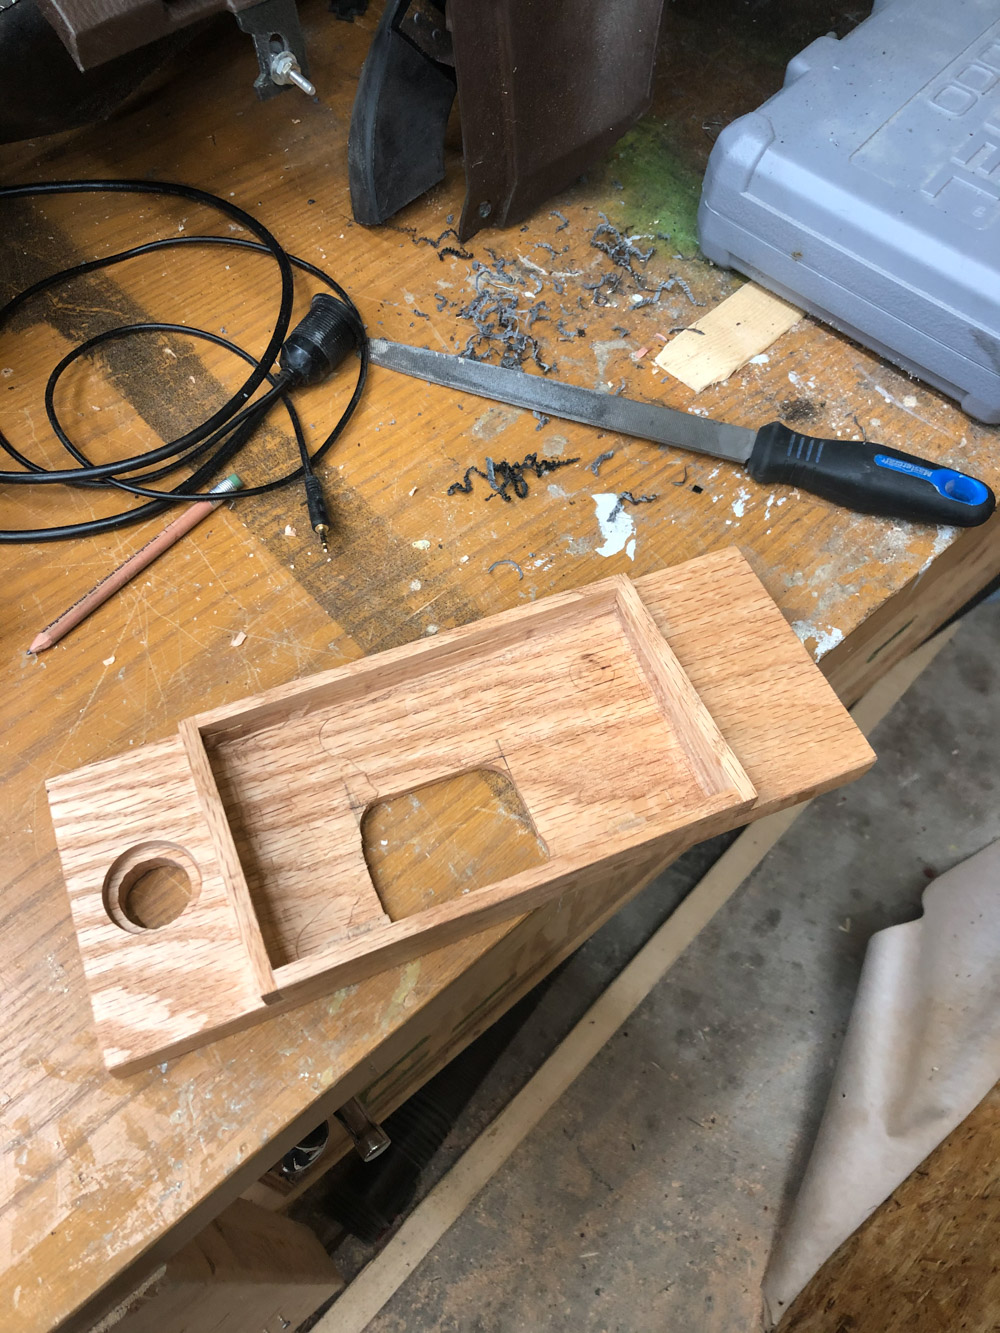
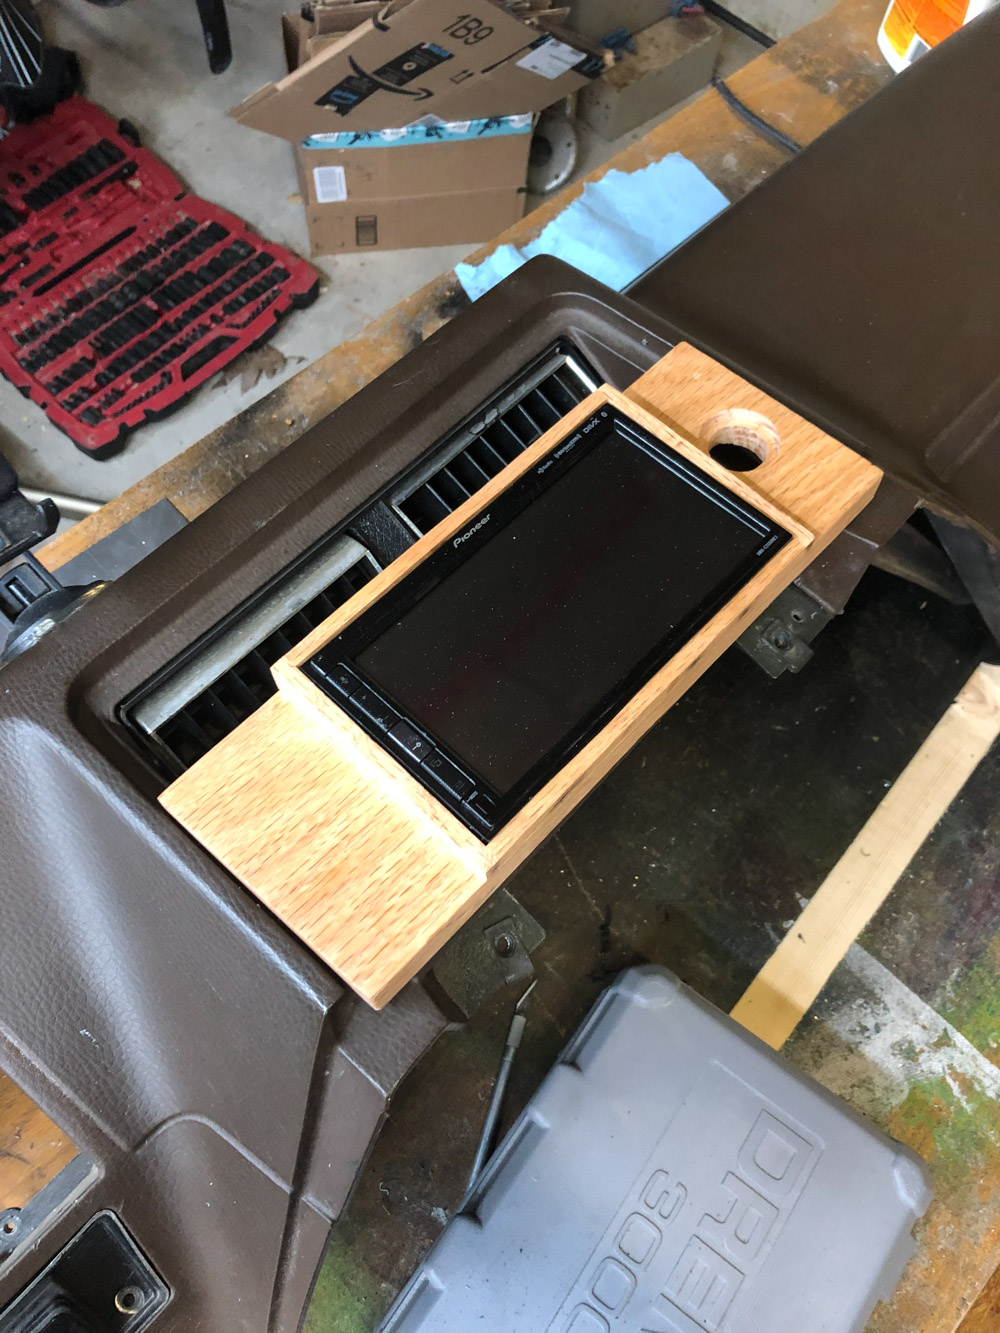
The radio I went with is the Pioneer DMH-C2550NEX. We have a Carplay-capable unit in our other vehicle and I’m spoiled for it, but the G20 predates the DIN standard so fitting a double DIN deck inside the dash would be tricky, requiring a lot of cutting and likely fabricating some kind of bracket. This Pioneer unit has a separate screen connected by cable to a single DIN box housing its circuitry. This allows you to mount the screen on a non-standard dash and hide the guts somewhere inside.
I made a cardboard template from the dash and fabricated a mount for the screen from a piece of oak I had. I also drilled a hole for a USB/3.5mm audio jack panel and another for the hands-free mic.
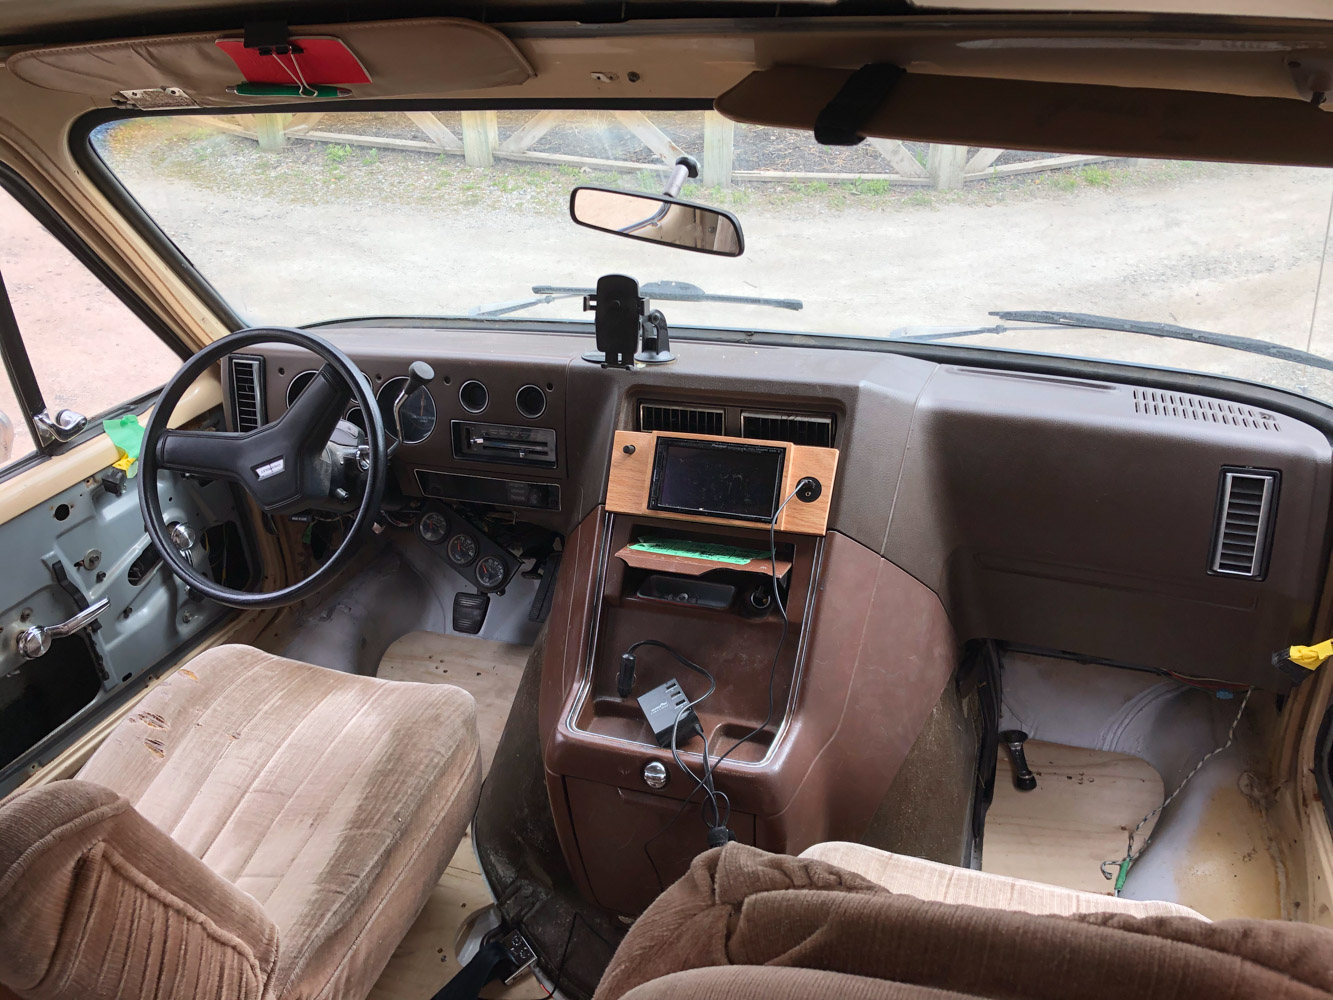
Getting the dash back in took most of an afternoon. Lots of screws to match to holes and vents to position perfectly so it could slide in.
In the next post we’ll cover some body repair, painting and insulation.
While I don’t mind the TTC, I have always preferred my bike, maybe most in the winter. Bundled in a parka on a packed, stuffy streetcar is no fun and on stormy days delays can make my commute almost 90 minutes. By bike it’s about 30 minutes all year round.
But without the proper equipment it can be miserable. I’ve tried a lot of different bikes, clothing and accessories over the years for usually what amounts to ~10 months of riding a year. This year I’ve refined it to a setup that works for me 365 days a year.
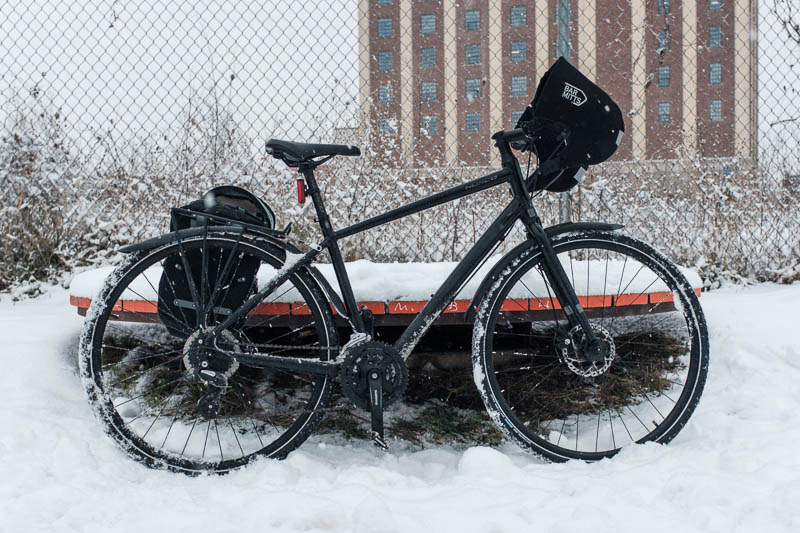
First, the bike. There are two things that make a huge difference: tire diameter and disc brakes. After hardheadedly riding road bikes and fixed gears in the fall and giving in when the snow starts to fall, I decided I should treat myself to some real traction.

Skinny tires are fine eight months of the year in the city but the minute there is snow on the ground it’s time to look at tires 30c and larger with tread designed for those conditions. You may even want to consider studs, as the City of Toronto’s intepretation of snow removal isn’t so much a “removal” as a “push to the gutter where the cyclists are and hope for the best” I like the Schwalbe Winter K-Guards.
Disc brakes are worth it in the snow, as the temperature in Toronto usually means “slush” which can build up between your fork and seat-stays, bogging down rim brakes.
Beyond these two things the bike doesn’t really matter. Gravel bike, mountain bike, whatever. My approach was to buy a used [Norco Indie 3][indie] from Kijiji and switch it to drop bars for an imitation gravel bike.
I don’t have specific product recommendations here because the best fender seems to vary a lot from bike-to-bike but fenders that reach over the rear wheel closer to the ground are essential. Snow sticks to your tires more easily than rain and can spray your back if your fenders aren’t long enough.
These things are the most effective way to keep your hands warm. I’ve tried many types of gloves, but once the temperature drops below about -10°C they all stop keeping my hands warm. Bar mitts give you a wind break that creates a pocket of warm air in front of your hands. Pair them with a thinner inner glove and you also have the benefit of better articulation for braking and shifing compared to big lobster gloves or mittens.
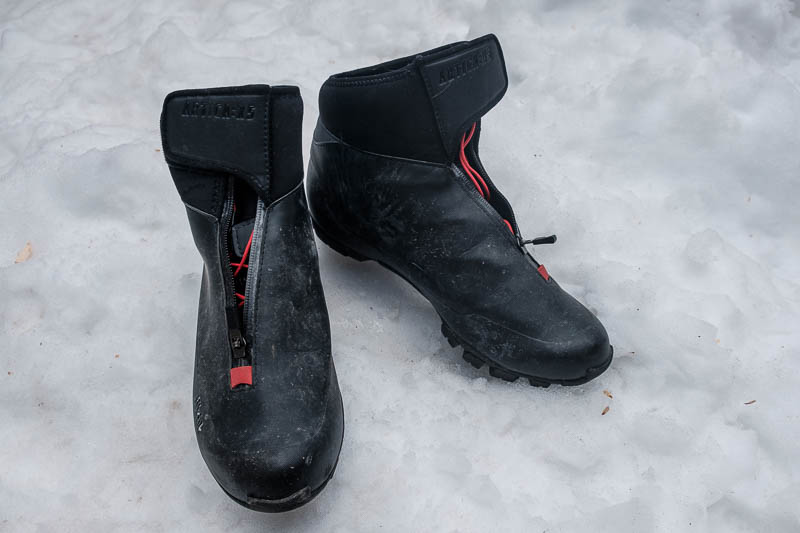
I’ve worn regular non-cycling boots with flat pedals and straps or cages (I like my feet connected to the pedals) but I’ve found this combo can effect the circulation in my feet and make my toes cold quicker. These Fizik X5 SPD-compatible boots are the best option I’ve seen in terms of waterproof performance.
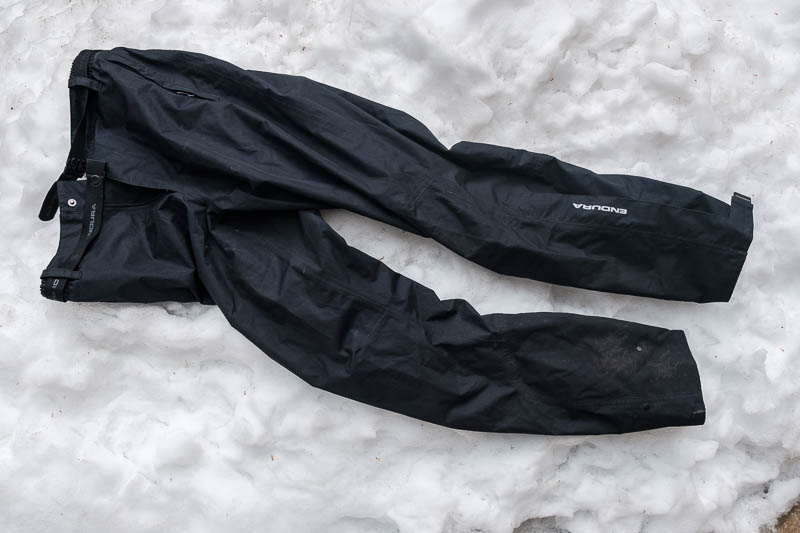
On days where good fenders don’t protect you (like it’s actively snowing or raining) you need pants. I’ve bought every rain pant at MEC and they are all terrible, with nonsensical fit and excessive material in the wrong places. These Endura pants are bulky enough to wear over street clothes but not too bulky that they get caught in your drivetrain. They also have pockets and ventilation, which are not always a given with cycling pants.
With shortened days, good lighting is a requirement. The Cygolite Metro headlight strikes the right balance between price and brightness. It’s lowest setting is enough to ensure you’re seen in clear conditions and it’s bright settings are plenty for flooding an unlit bike path.
Above the waist the best approach is to have options. I ride at a pace that a good rain jacket over a t-shirt keeps me warm down to near freezing as long as my extremities are protected. Below that I will add fleece and thermal base layers as necessary. Uniqlo Heattech is great and cheap.

All the natural beauty you can get in Ontario. Click through to see more photos from the trip.

